by Rose Morrison
Rose is the managing editor of Renovated, a home living site where she strives to help people live their best DIY lives.
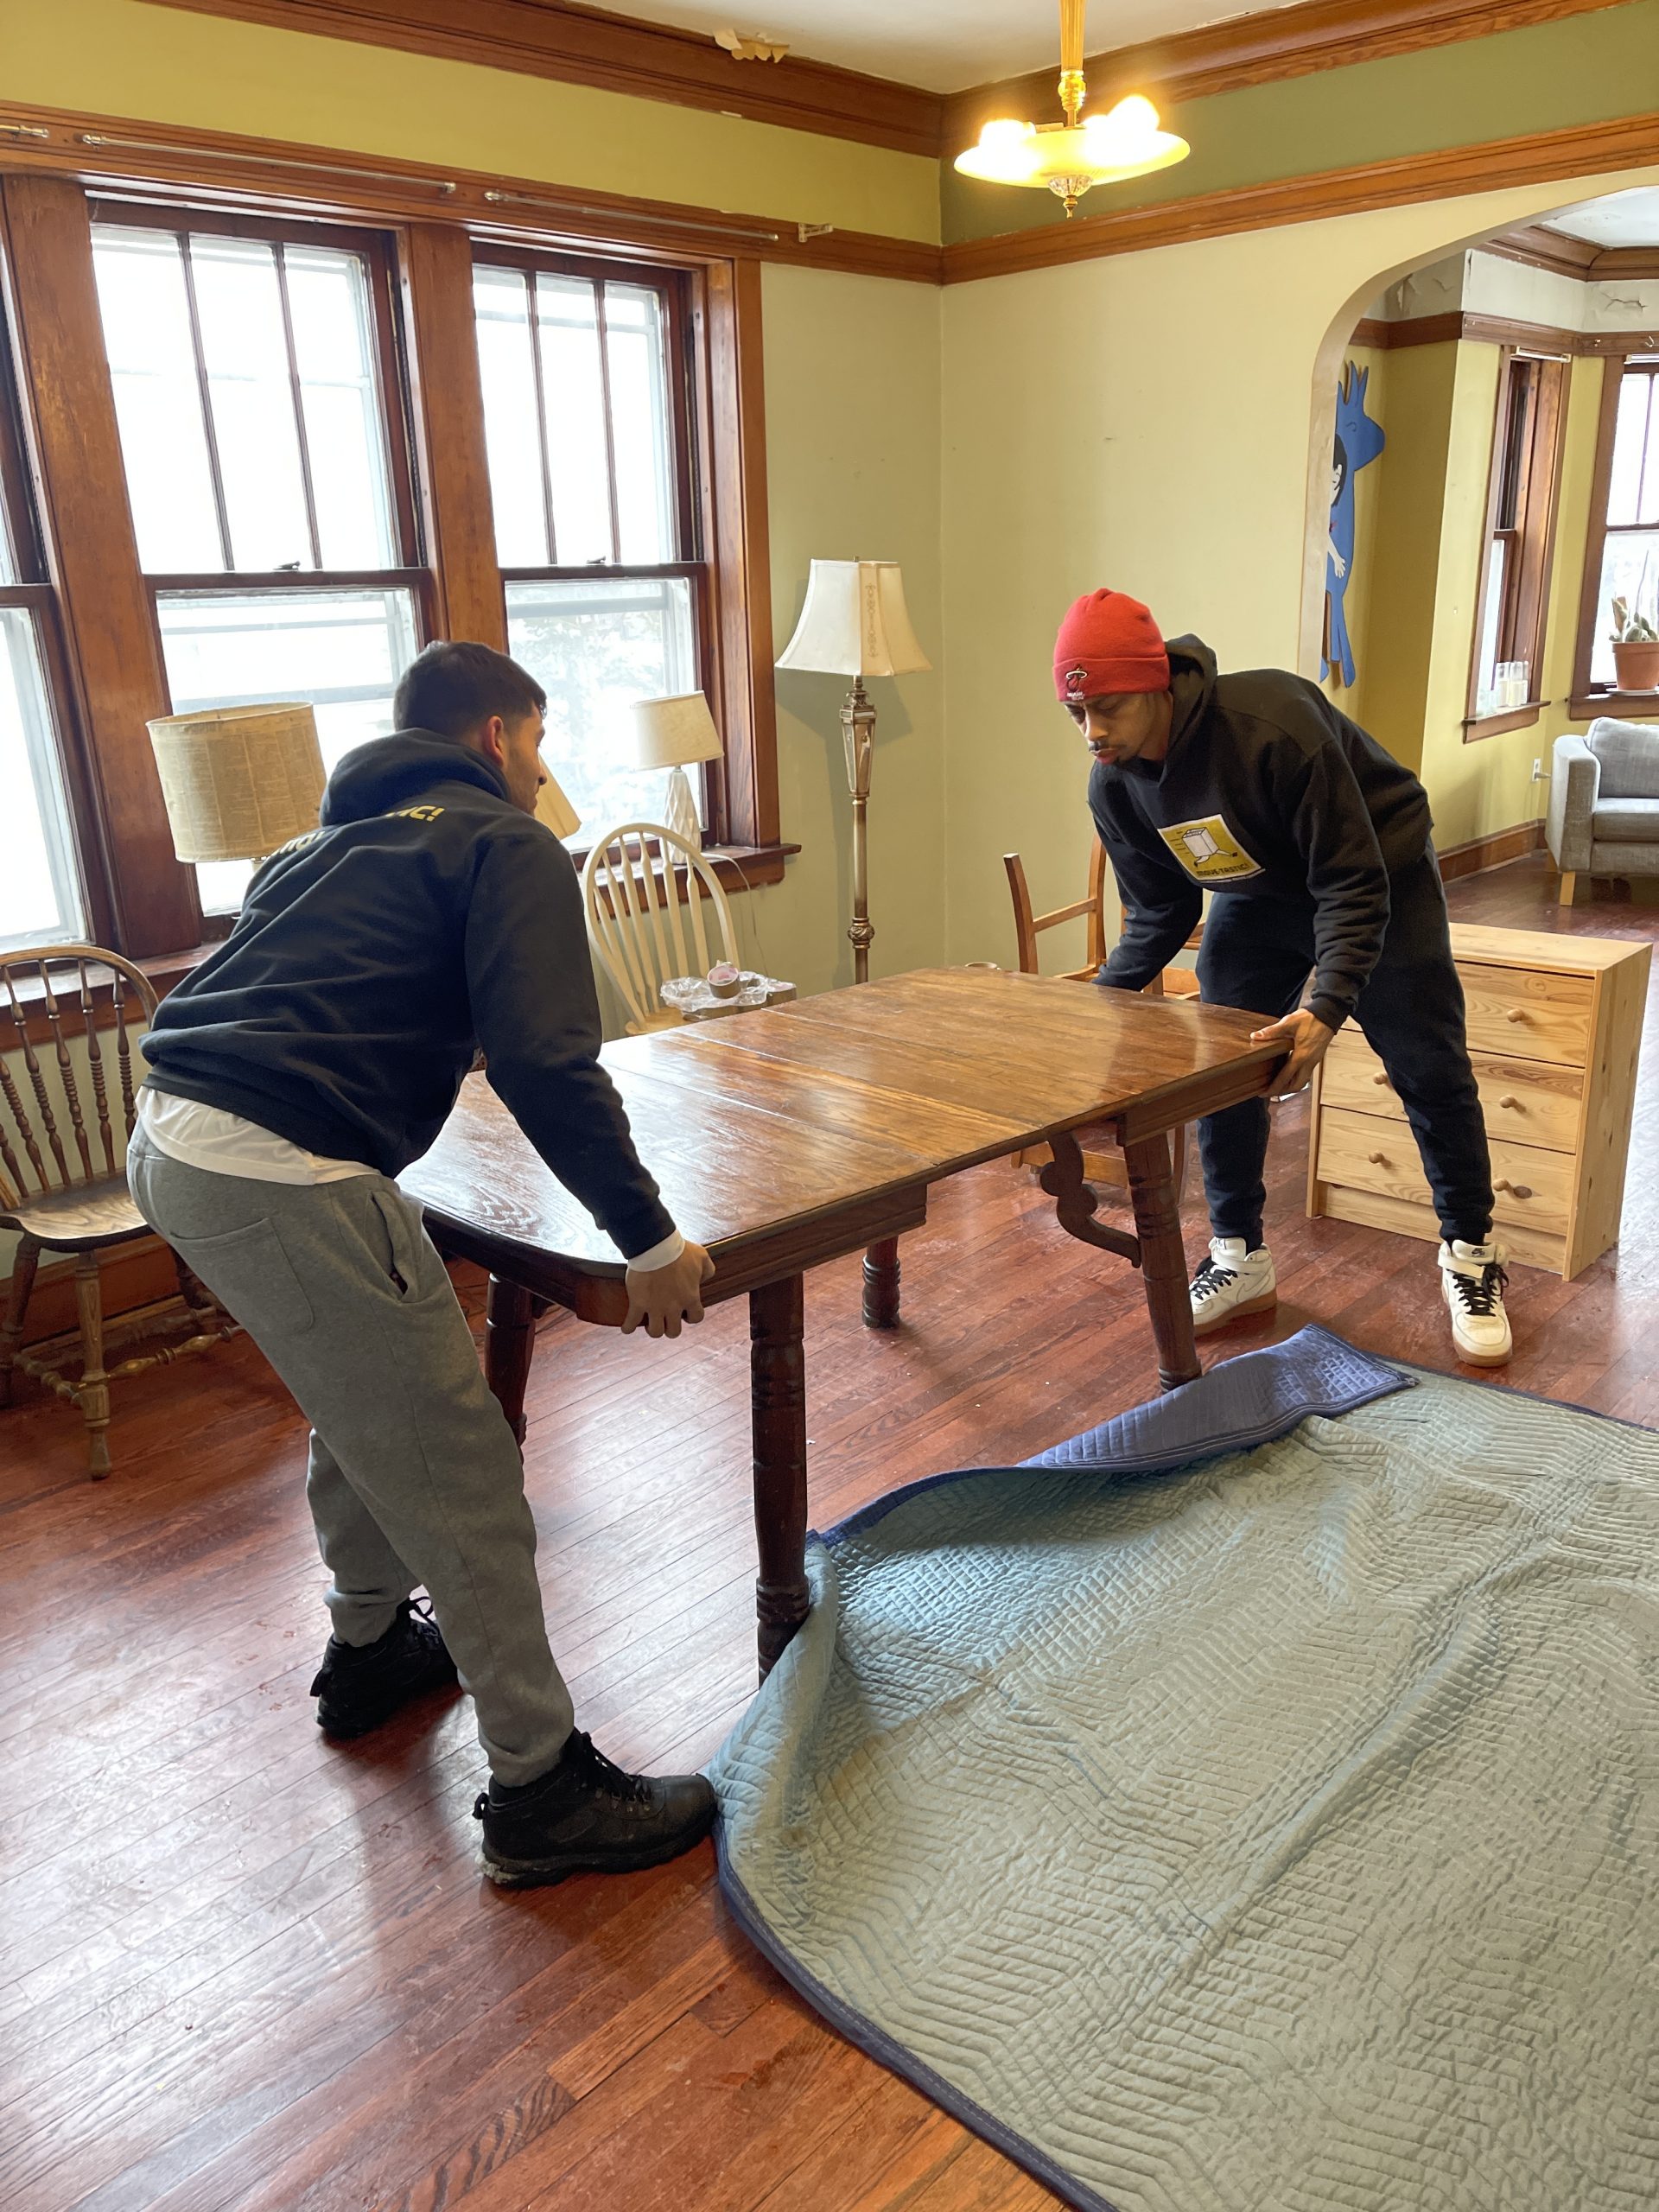
Certainly, you’re excited to settle into your new home. But before you unpack your 80 to 100 boxes of treasured belongings, you should do a final walkthrough of the house with your real estate agent or home builder. You’ll find everything you need to know about this crucial step of a successful move right here.
Why Is the Final Walkthrough Important?
An inspector should have checked your house from top to bottom and handed you the report. However, a proper walkthrough of your new home will indicate whether any stone was left unturned.
Forgoing a walkthrough could cost you extra on your purchase if there are any residual damages or faulty repairs. When these damages get discovered during a walkthrough, your real estate agent can contact the seller to fix the problem or make a deal to lower the home listing price. If you’re on a tight budget and hope to avoid spending money on home projects for a while, the walkthrough can save you from a financial burden.
7 Tips for a Proper Walkthrough
Buying a house is stressful enough. These seven tips will help you complete the final walkthrough and ensure your new home is move-in ready.
1. Bring the Essentials
Always bring the essentials with you to the walkthrough of your new home. These items should include:
- The final home contract stating what should and shouldn’t be in the house.
- A notebook and pen to take notes.
- A smartphone with a camera to photograph damage or anything out of place.
- A summary of the inspection.
Always ask your real estate agent to be there during the final walkthrough to answer questions. It’s best if the builder is also on the premises if the house is new construction.
2. Look at Repairs
Always check the inspection report for any repairs made to the home. The fixes could be as insignificant as ensuring holes in the walls were patched up to confirming the sellers addressed a leaky roof or cracked foundation.
When you do the final walkthrough, be sure to check those repairs for yourself. You should also ask for all receipts and warranties to follow up if something breaks.
3. Open the Windows and Doors
Always open and close the windows and doors throughout the house during your walkthrough. While you should look for windows that stick, you also want to see if there are any with air leaks.
Drafty windows and doors will increase your energy consumption and utility bills. Additionally, you may have foundation issues if the windows sit unevenly in their frames — both of these situations are worth mentioning to the seller before closing.
4. Examine Exteriors
There are specific areas in your home exteriors that you should examine, including the following features:
- Damage-free siding, including no bubbling or water stains
- The irrigation systems and sprinklers work
- Walkway and driveway pavers are even
- No missing or damaged roof shingles
- Any outdoor equipment — such as a fire pit or fountain — work
- The garage door is operational
- Lighting fixtures turn on and off
A home inspector should have thoroughly checked the exteriors to address significant troubles with the house.
5. Review Interior Rooms
The interior rooms should be next on your checklist if the outside looks good. Flip on the kitchen and bathroom faucets, run your hand over surfaces for cracks, and look for scratches in the sinks, floors and cabinets. Now is also the time to flush toilets, turn on showerheads and look for any other imperfections, such as leaks that must be addressed.
6. Visit the Attic and Basement
Although a home inspector will have noted potential hazards, the walkthrough will allow you to take one last look for asbestos, mold, pests and water damage in the attic and basement. Older homes, especially, may have asbestos. Your health is particularly at high risk since you can inhale asbestos dust particles that are too small to see with the naked eye.
7. Test Appliances and Switches
Ensure every outlet and appliance works when you do your final walkthrough — this includes the following items:
- Refrigerator and freezer — look to see if it produces ice or is cold enough for cold goods
- Garbage disposal
- Oven vent
- Dishwasher
- Laundry machine
- Thermostat
- All light switches and ceiling fans
While you can’t see the wiring inside the walls, there are signs of faulty electrical you should be aware of. Flickering, little shocks, burning smells, discolored outlets and hot panels are just some of the troubles you may experience.
Fixing all electrical issues before moving in is critical. The National Fire Protection Association says 46,700 home fires occur annually due to electrical malfunctioning.
Our Moving Experts Are Ready When You Are
Move-tastic is ready and excited to help move you into your new home whenever you’ve completed a proper walkthrough. Simply reach out to our expert team of movers to ensure a smooth transition to your new home.